Grinding coffee beans is straightforward: choose a starting point from your brewer or recipe, grind only the amount you plan to brew, then taste and adjust. If you cannot find a recommended setting, use the qualified starting tests below rather than treating them as fixed rules.
There is no universal “correct” number on a grinder dial. Settings vary by grinder, and the National Coffee Association notes that brewing choices affect a cup’s flavor and quality about as much as coffee variety and roast. Use your brewer’s guidance where available, then adjust to suit your coffee and routine. National Coffee Association’s coffee-brewing overview.
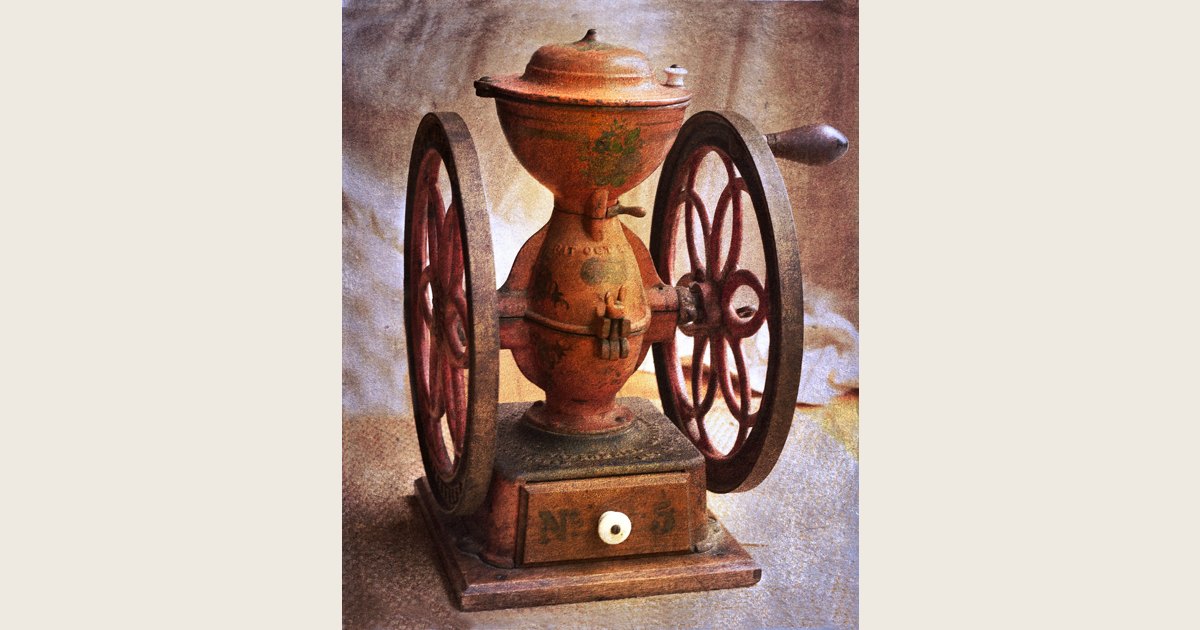
Featured image credit: Photo: Coffee grinder by Muffet, https://www.flickr.com/photos/53133240@N00/9315078247; https://creativecommons.org/licenses/by/2.0/. Resized and padded. Illustrative stock photo; no product testing is implied.
Key takeaways
- Check your brewer or recipe first; grind labels and dial numbers vary by grinder.
- Without a recipe, use visual comparisons as starting points: fine like table salt for espresso, medium like kosher salt for drip and pour-over, and coarse like rock salt for French press and cold brew. These are approximate cues, not measured standards.
- AeroPress says grind size and steep time can affect flavor notes during immersion, but its retrieved page does not give a general grind-size recommendation for the brewer.
- Change one variable at a time so you can compare cups; taste and brew flow can guide a small grind change, but they do not identify a cause by themselves.
What you’ll need
- Whole roasted coffee beans
- A burr grinder or blade grinder
- Your coffee maker and its filter, if it uses one
- A scale or scoop to portion beans, if you have one
- A clean, dry container for the grounds if your grinder does not grind into the brewer
Time: roughly 2 to 5 minutes per brew, depending on the grinder and preparation
Difficulty: beginner
A burr grinder crushes beans between two grinding surfaces and generally gives you more consistent grounds and repeatable adjustments. A blade grinder chops beans with a spinning blade; pulse time affects how fine the grounds become, but the result is less even. Either can work for home coffee, though a burr grinder offers more control when you want to fine-tune. Whichever you use, follow its manual and safety instructions. The National Coffee Association compares burr and blade grinders and advises following manufacturer guidance. Before buying, consider whether you need fine adjustment for espresso, settings suited to your usual brewer, straightforward cleaning, and a price that fits your budget.
If you do not have a grinder at all, see our guide to grinding coffee beans without a grinder before reaching for a workaround.
Step 1: Choose the grinder and brew method
Choose a grinder based on how much control you want and how often you make the same brew. A burr grinder crushes beans between burrs. Because you can return to a chosen setting, it is easier to fine-tune espresso, pour-over, or any brew you make regularly. Burr grinders do not share a universal scale: “12” on one machine will not necessarily resemble “12” on another. Use your manual’s suggested range, then use taste and brew flow to fine-tune it.
A blade grinder uses a spinning blade, so control comes from pulse time rather than a dial. Its results are less exact, but it can still make good daily coffee. Use brief pulses and check the grounds between pulses instead of holding the button down for a long stretch.
Step 2: Choose a starting grind size
Your brewer’s instructions or recipe should come first, especially for espresso equipment and recipes with a specified setting. If none is available, the National Coffee Association (NCA) gives approximate visual comparisons: fine like table salt for espresso, medium like kosher salt for drip and pour-over, and coarse like rock salt for French press; its chart also lists cold brew as coarse. Think of these as broad starting cues, not a measured particle-size standard. Grounds will look different across grinders, and the number on one grinder will not map directly to another. NCA grind-size guidance for common methods.
| Brew method | Approximate visual starting cue |
|---|---|
| Espresso | Fine, like table salt; follow your machine and recipe when dialing in. |
| Automatic drip | Medium, like kosher salt. |
| Pour-over | Medium. |
| French press | Coarse, like rock salt. |
| Cold brew | Coarse; follow your recipe if it specifies otherwise. |
| AeroPress | No single setting here: use a recipe or brewer guidance, then adjust to taste. |
These descriptions help you compare coarse, medium, and fine grounds; they are not exact textures. When a grinder has no labels, use the chart’s approximate textures to choose a starting point, then follow your brewer’s recipe or grinder manual to select a setting; grinder scales and adjustment ranges differ. Make a small change, brew using the same recipe, and compare. If you are using AeroPress, its site says grind size and steep time can affect flavor notes during immersion, but the retrieved page does not prescribe one universal setting. AeroPress on grind size and steep time during immersion.
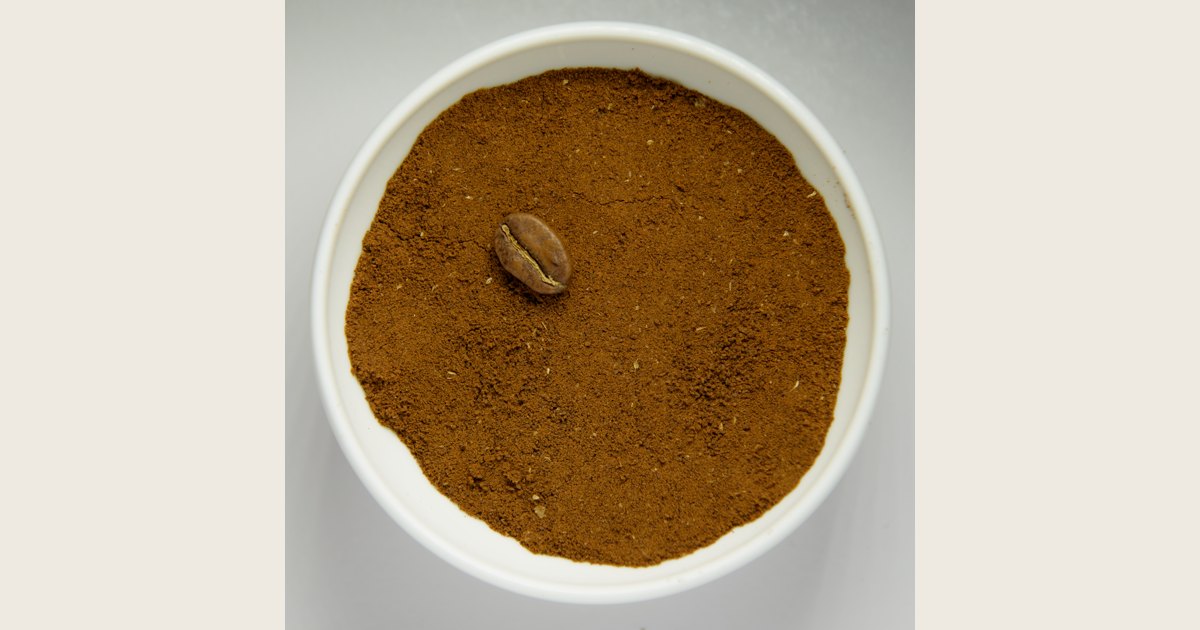
Photo: Finely grounded coffee beans in white bowl with intact roasted bean by Alorin, https://commons.wikimedia.org/w/index.php?curid=74064016; https://creativecommons.org/licenses/by/4.0/. Resized and padded. Illustrative stock photo; no product testing is implied.
If the grinder has labeled ranges, try the range for your brewer first. Follow your recipe and adjust only if needed.
Step 3: Measure the beans, then grind fresh
Measure only the beans needed for the current brew:
- Check your coffee maker’s instructions or favorite recipe for the coffee amount it calls for.
- Measure that amount as whole beans. A scale is the most repeatable option, but a scoop is fine for a casual morning cup.
- Put only that portion into an empty, dry grinder or single-dose hopper.
- Keep the rest of the beans sealed in an airtight, opaque container in a cool place away from heat and sunlight.
Grinding right before brewing is a practical freshness habit. For beans you will not brew today, store them airtight, in a cool, dark place. The National Coffee Association recommends these practices and grinding the needed amount immediately before brewing. National Coffee Association’s coffee-storage guidance.
Step 4: Grind safely and check the texture
Grind according to your grinder’s manual. With a burr grinder, choose the setting from the chart or your grinder’s brew-method label, add the measured beans, and grind until they pass through. If your manual specifies how to change settings, follow it; grinders differ in how adjustments should be made.
With a blade grinder, start with brief pulses and check the grounds between them. If you need to redistribute the beans or grounds, switch the grinder off first and follow the manual. Keep fingers and utensils clear of the blade; unplug the grinder before reaching inside or cleaning it. Pulse again until the grounds look close to the broad target, accepting that a blade grinder produces a less even mix than a burr grinder. NCA also stresses following grinder instructions and taking care around sharp blades. NCA grinder and blade safety guidance.
Wait a few seconds before opening the grinder so loose grounds settle. Transfer the grounds directly to the filter basket, portafilter, press, or brewing chamber. Avoid leaving grounds in the grinder between brews; follow the manual’s directions for cleaning and maintenance.
Step 5: Brew, taste, and make one adjustment
Brew according to your brewer’s recipe, then note a setting you enjoy. If comparing another grind, keep the rest of the recipe steady.
For espresso, follow the machine and recipe guidance, keeping dose and tamp consistent while you adjust. If the shot runs outside the recipe’s target time or flow, make a small grind change and reassess; espresso machines and recipes differ, so avoid treating a single flow symptom as a diagnosis.
Troubleshooting your grind size
The cup tastes unpleasant
Taste alone does not identify a grind problem: coffee choice, dose, water, and recipe can also affect the result. If your brewer or recipe provides adjustment instructions, follow those first. Otherwise, compare a small grind change while holding the rest of the recipe steady, and keep the change only if you prefer the next cup. AeroPress notes specifically that, during its immersion stage, grind size and steep time can affect extracted flavor notes; that observation is about its brewing system, not a universal taste diagnosis. AeroPress’s explanation of its brew method.
French press coffee is muddy
If the grounds look powdery and the cup has more sediment than you enjoy, try one small move toward the coarser end of your grinder’s range and pour gently, leaving settled grounds behind. Some sediment can remain with a metal filter. This is a practical adjustment to test, not a guaranteed fix.
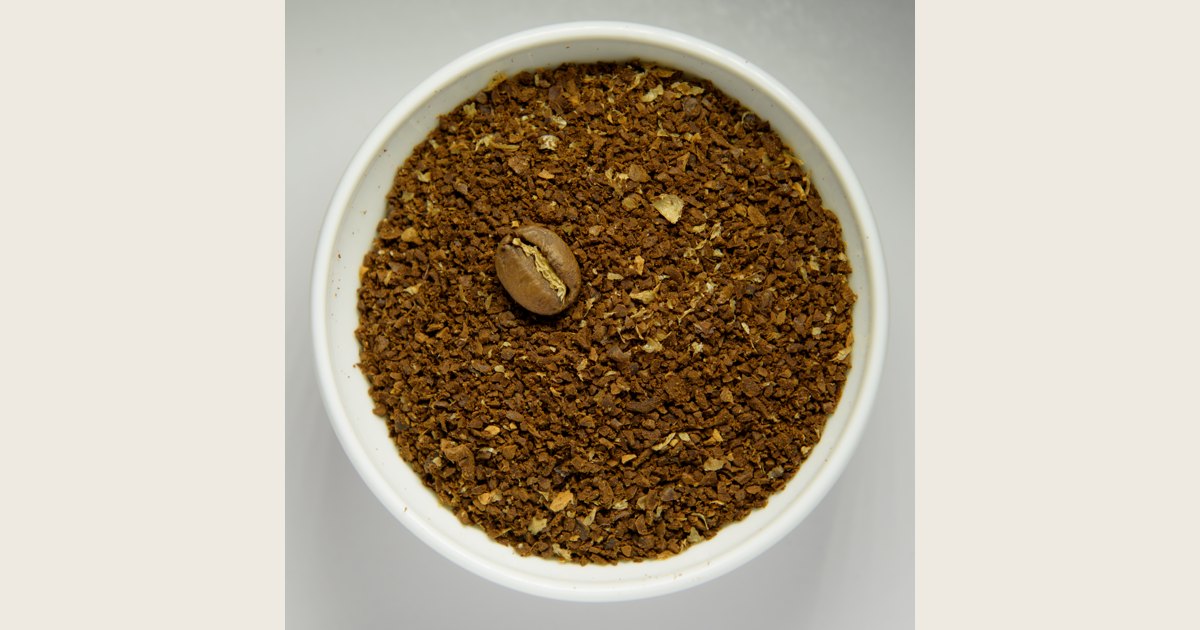
Photo: Coarsely grounded coffee beans in white bowl with intact roasted bean by Alorin, https://commons.wikimedia.org/w/index.php?curid=74064018; https://creativecommons.org/licenses/by/4.0/. Resized and padded. Illustrative stock photo; no product testing is implied.
Pour-over or drip coffee finishes far too fast or too slowly
Check the recipe, water amount, filter, and brewer for setup issues before changing the grind. If everything else matches your normal method, test one small grind adjustment and compare the next brew; flow alone does not establish the cause.
The grind looks uneven
With a blade grinder, uneven-looking grounds are common; try smaller batches and short pulses. For cleaning or maintenance, follow the grinder manual before taking anything apart.
Common grinding mistakes to avoid
Treating a dial number as universal. Grind settings are specific to the grinder. Start in the labeled range for your method.
Changing several variables at once. If you change grind, dose, water, and time together, you will not know what improved the cup. Adjust one thing at a time.
Grinding a week’s worth of coffee at once. It is convenient, but grind just before brewing when practical; the National Coffee Association recommends this for freshness. National Coffee Association’s coffee-storage guidance.
Going extremely fine to make coffee stronger. A finer grind changes the cup, but it is not a substitute for following a consistent recipe. If the cup seems weak, check your recipe and coffee amount before making a large grind change.
Make the grinder work for your routine
The best grind size is the one that gives you a cup you enjoy with your brewer, beans, and routine. Begin in the appropriate range, grind just what you need, and make small, deliberate changes. Once you find a good setting, coffee grinding becomes a quick part of making breakfast rather than a daily mystery.